Damages to your vinyl and leather furnishings can be distressing. Fortunately, there is a solution at hand. The Permatex Vinyl and Leather Repair Kit is a household staple, specifically designed to mend such unfortunate accidents, breathing new life into your favorite pieces.
The Permatex Vinyl and Leather Repair Kit is a do-it-yourself repair system that blends with most colors and grains. It provides a way to mend rips, tears, and burns in vinyl and leather furnishings without needing expert intervention.
Embracing this repair solution can save significant costs associated with professional upholstery repairs. Importantly, the kit is versatile, catering to all types of leather and vinyl damages, whether in your car’s interior or your living room’s centerpiece couch.
Table of Contents
The Permatex Vinyl and Leather Repair Kit comes with a range of features designed for user-friendly applications. It consists of a heat transfer tool, seven color compounds, grain pattern paper, and a mixing bottle.
Benefits of the Permatex Repair Kit include its ease of use, cost-effectiveness, and professional-grade results. Furthermore, it provides flexibility with its variety of color compounds, allowing you to match almost any leather or vinyl grain color.
Initiating the repair process requires some preparatory steps. Prior to diving into using the Permatex Repair Kit, it’s important to ensure the damaged area is ready for the repair process.
Cleaning the damaged area is vital. Dust, dirt, and oils from the surface can prevent the repair compound from adhering effectively. Use a mild soap and water solution to clean the area. For stubborn dirt, a soft bristle brush may be used. After cleaning, ensure the area is completely dry before beginning the repair.
For larger tears or holes, it’s important to provide a solid base for the repair compound. You can do this by creating a backing patch. Choose a piece of fabric that’s slightly larger than the tear or hole. Using tweezers or a similar tool, insert the patch under the damaged area and smooth it out to ensure it’s evenly placed. This patch will serve as a supportive layer for the repair compound, ensuring the filled area is robust and can withstand use.
Following a step-by-step process ensures your repair work turns out flawless. Here’s how you can make the most of the Permatex Repair Kit:
Carefully slide the prepared backing fabric beneath the tear. Use tweezers or a similar tool to adjust its positioning. Make sure it’s evenly spread beneath the tear and lies flat against the underside of the vinyl or leather.
The kit comes with seven different color compounds. Depending on your leather or vinyl color, you will need to mix the compounds to create the perfect match. Use the provided mixing bottle for this purpose. Remember, it’s always a good idea to mix a slightly larger quantity than what you estimate you’ll need. This ensures you won’t run out midway through the application.
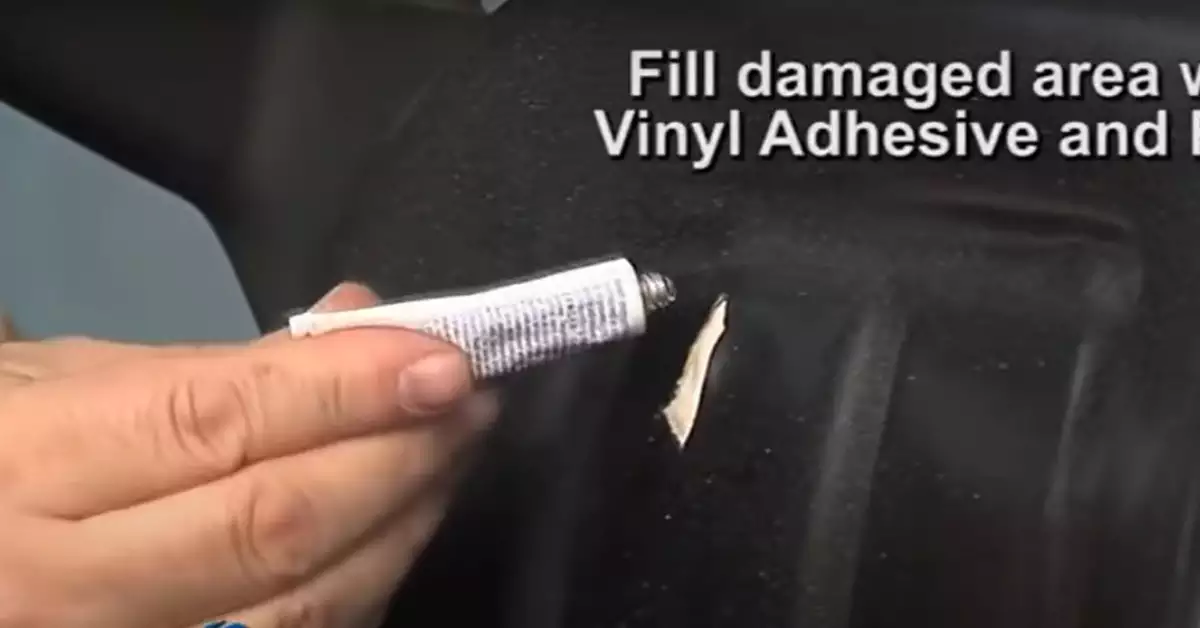
Once you have your color match, it’s time to fill the tear or hole. Use the spatula provided in the kit to apply the repair compound. Make sure to fill the entire damaged area, ensuring the compound slightly overlaps onto the surrounding undamaged area. This is to ensure the compound firmly bonds with the vinyl or leather surface.
Now, it’s time to mimic the grain of the leather or vinyl. The kit comes with a variety of grain papers. Choose the one that best matches your material’s grain. Apply it over the compound and use the heat transfer tool provided in the kit. Apply even pressure and heat across the grain paper.
Here’s a handy troubleshooting guide for common issues you might encounter while using the Permatex Repair Kit:
Sometimes, the repair compound may not adhere properly to the surface. This can be due to inadequate cleaning or not enough heat applied during the texturing process. If this happens, remove the loosely adhered compound, thoroughly clean the area, and start the process again. Ensure to apply the heat tool evenly, and remove the grain paper only once cooled.
Getting a perfect texture match can be a bit challenging. Always test your grain paper and compound color on a hidden area before full application. If you find the texture doesn’t match perfectly after repair, you can reapply the grain paper with the heat tool to adjust the texture.
If your color doesn’t match perfectly, you can remix the provided color compounds for a closer fit. The key to getting a perfect color match is to start with small amounts of color compounds and gradually increase until you get the desired color. Remember, it’s always easier to add more color than to correct an overly dark mixture.
Maintaining the repaired area properly can ensure the longevity of your repair.
After your repair has completely dried and cured, you can clean it just as you would the rest of your vinyl or leather. Use a soft cloth and mild soap to clean. Avoid abrasive cleaning products, as they can cause the repair compound to break down over time.
After the repair, regular care and maintenance can go a long way in preserving your vinyl and leather goods.
The Permatex Repair Kit has many benefits, but there are also a few considerations to keep in mind.
Major Advantages of the Permatex Repair Kit include:
Potential Drawbacks include:
Can I use the Permatex Repair Kit on any color of leather or vinyl?
Yes, the kit comes with seven different color compounds that can be mixed to match nearly any color.
What if the repair compound does not adhere properly?
Try to reapply heat evenly or increase the heating time for better adhesion.
How can I ensure the longevity of the repair?
Regular cleaning with a soft cloth and mild soap, and conditioning (for leather) can help maintain the repair for a long time.
The Permatex Vinyl and Leather Repair Kit offers an affordable and practical solution to everyday tears and burns on leather and vinyl items. Equipped with diverse color compounds, this kit lends itself to a vast array of applications.
Mastering the use of this repair kit may require practice, but the outcome is rewarding. Providing an opportunity to extend the life of your favorite leather and vinyl items, the Permatex kit is a reliable companion in any repair situation.
At the end of the day, being equipped with the right tools and knowing how to use them is the key. The Permatex Vinyl and Leather Repair Kit is one such tool, offering a bridge between damage and restoration, making your cherished pieces look new once again.